

If you are unable to use DNS-over-HTTPS, another option is to use your IP address to enable access to DNSFilter. Please note: To ensure privacy, the provided IP address will not be associated with any VPN-related activity when using Guardian VPN. For this integration, you will need to locate your ISP-assigned IP address.
The reason a static IP address is essential is due to the fact that if your IP address is changed at any point by your ISP, your device will experience a complete drop in any internet connection. This would require you to have another device without DNSFilter enabled in order to use this device to access your user dashboard on guardianapp.com and update the old IP address to the new one so that internet connectivity will resume on the main device.
You can find your IP address in many different ways. One quick way is to navigate to the website below, which will state your IP directly on the page.
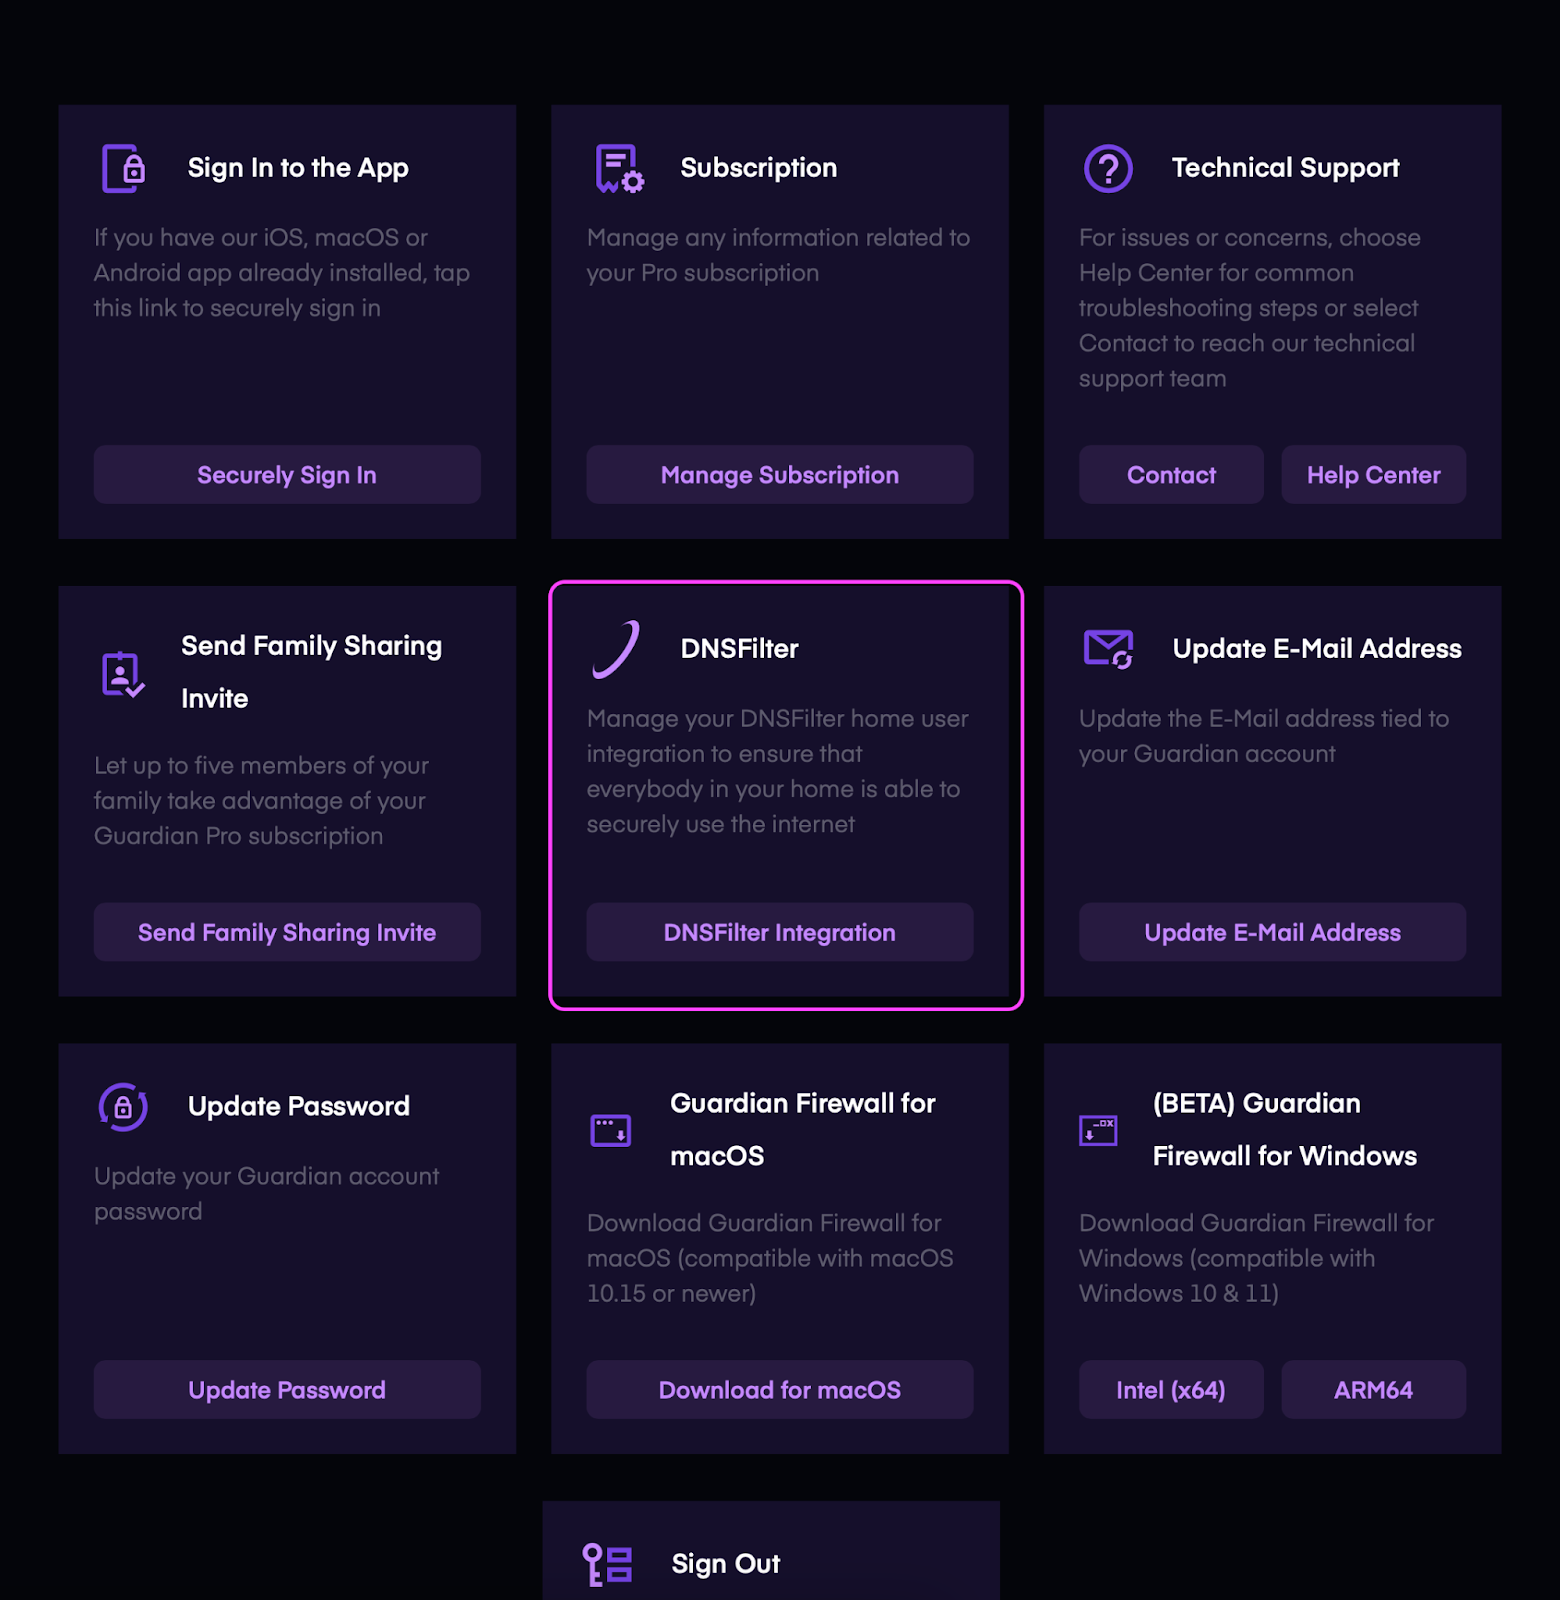
1. Now that you have your ISP-assigned IP address, log in to your Guardian account at guardianapp.com and from the user dashboard select the DNSFilter integration tile.
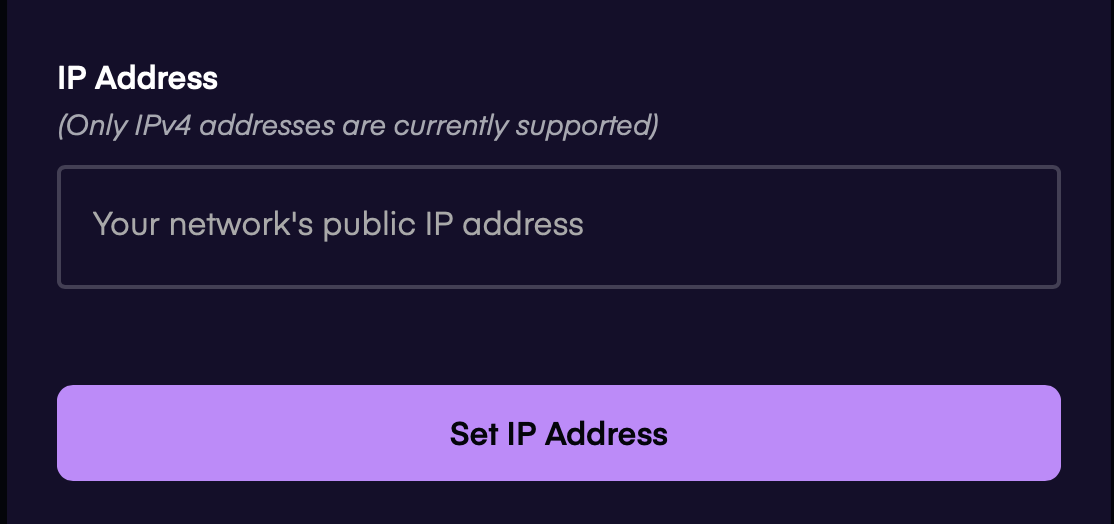
2. Here you will enter your home network's ISP-assigned IP address in the box.
3. Next, you will need to access your router’s settings to direct your network's DNS traffic towards the DNSFilter resolver addresses 103.247.36.36 & 103.247.37.37
4. When you have completed the options above, you can verify that DNSFilter is working by navigating to https://debug.dnsfilter.com to see the policy is blocking the categories hi-lighted in red
You can find your IP address in many different ways. One quick way is to navigate to the website below which will state your IP directly on the page.
1. Now that you have your ISP-assigned IP address, login to your Guardian account at guardianapp.com and from the user dashboard navigate to the DNSFilter integration.
2. Here you will enter your home network's ISP-assigned IP address in the box.
3. Next, please direct your network's DNS traffic towards the DNSFilter resolver addresses 103.247.36.36 & 103.247.37.37
1. Click on the Apple logo in the upper left corner of the screen.
2. Navigate to System Settings >WiFi and click on Details next to your WiFi network.
3. Click on DNS in the left pane of the window.
4. Click on the + to input each DNSFilter resolver address.
103.247.36.36
103.247.37.37
5. Click OK and your traffic should now be flowing through DNSFilter.
6. Check that the configuration is set up as expected by opening a Browser and navigating to debug.dnsfilter.com to see the blocked categories of the standard policy in red.
1. Navigate to Windows Settings > Network & Internet > Advanced Network Settings > WiFi click on the down arrow.
2. Click on View Additional Properties > DNS Server Assignment.
3. Click on Edit. Click on Manual.
4. Enter DNSFilter resolvers in Preferred DNS / Alternate DNS
103.247.36.36
103.247.37.37
5. Click Save.
4. When you have completed the options above, you can verify that DNSFilter is working by navigating to https://debug.dnsfilter.com to see the policy is blocking the categories hi-lighted in red
Learn how to use the DNSFilter Integration for DoH and enhanced network security
Learn how to configure WireGuard on a Linux device using the wg-quick tool.


